
1. Introduction.
With Cool Tabs, you can create a campaign with a fully customizable skill game, in which players must find the differences between two apparently identical images.
In this way, you can create a game in which you put the participants to the test and challenge them to spot the differences between two images of your choosing, in the shortest amount of time possible, and in one of which you have previously modified or removed some objects or details.
There is no limit to the number of differences, you can mark as many as you need! In addition, you can impute points to spot the differences, for completing the game, or for seconds left over. And to prevent the participant from clicking madly to get it right, you can remove seconds for each wrong click.
2. Step by Step.
2.1. Create your campaign.
First, you must create your campaign and configure the basic setting. Is it your first time creating a campaign with Cool Tabs? In the following tutorial, we will show you how to configure the basic sections of a campaign, as well as other recommended settings, to ensure its proper functioning and maximize results.
How to get started on creating a campaign: basic settings.
If you have any questions during the process, you can contact us at help@cool-tabs.com.
2.2. Configure the game.
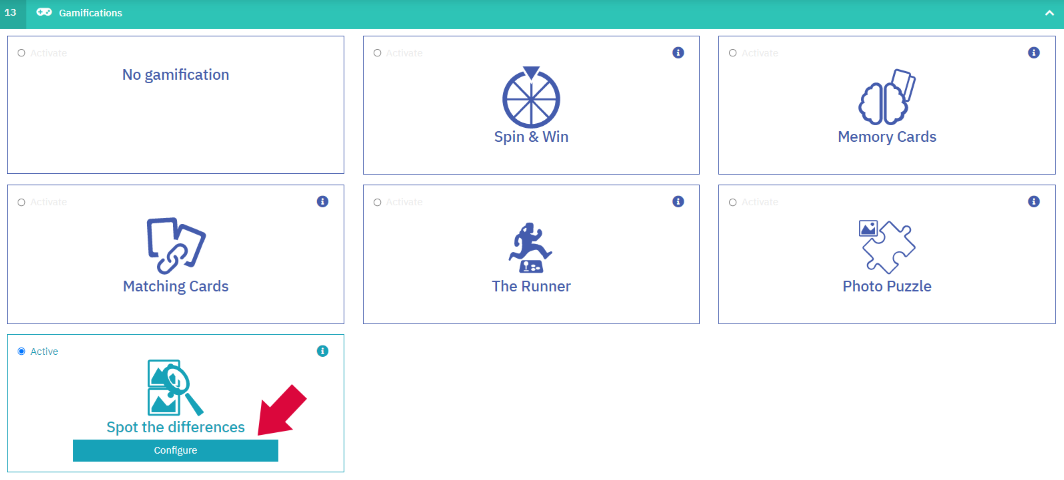
After completing the basic sections, go to the 'Gamifications' section, activate the Spot the Differences option, and click on 'Configure'.
Once inside the configuration, complete the fields related to the game features and design:
2.2.1. Main configuration.
Upload the game images.
- On the left (image 1) add the original image.
- On the right (image 2) add the image you have modified.
After uploading the images, hit "Save".
The images must be square and in PNG format, with a minimum of 620 x 620px and a maximum of 1280 x 1280px.
Once you have uploaded and saved the images, you have to mark the differences. You must click on the original image where the differences are. They will automatically be marked on the modified image. To remove or change a difference, just click again on the mark and it will be deleted. Save the changes you make.

2.2.2. Game conditions.
- Set the maximum time the participant has to find the differences.
- Determine how many points you are going to give and for which milestone achieved: points for each difference found, points for completing the game and points per second that the participant has left over.
- Think about whether you want to subtract seconds for each mistake, so that if the player clicks incorrectly, the number of seconds you choose will be deducted.
- Maximum number of games. Specify how many times the user will be able to play. When the game ends, they will be shown a popup with the points they've obtained, the text "You have X more tries" and the "Play Again" button. Once they reach the limit of allowed games, they will not be given the option to play again, but only to continue.

2.2.3. Design.
You can give it a title that will be shown as the header of the puzzle and include a description (text and/or image) as a clue for the user.
Save the settings and continue editing the campaign.

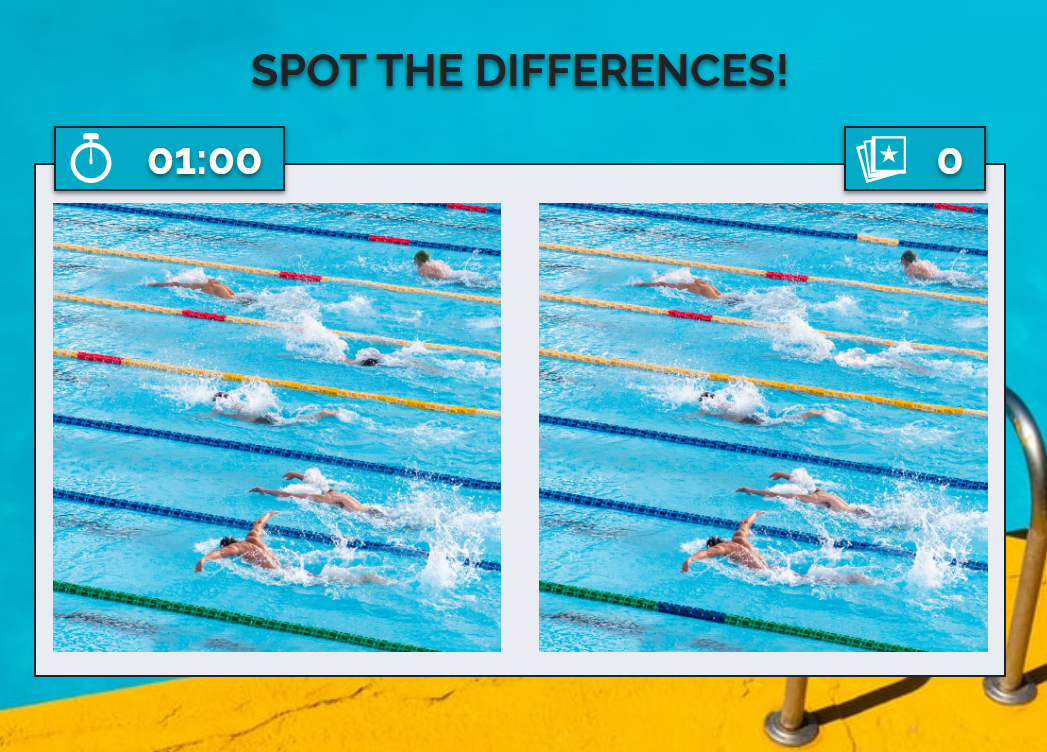
Below, you can see an example of how the game screen is displayed.
2.3. Other settings.
2.3.1. Ranking of participants.
In gamification campaigns, where players score points, it is common to show the public list of participants. In this way, the participations are made public so that all participants know where they ranked.
If you want to show the ranking of players, with the points they have obtained, activate the list of participants.
To enable the public ranking of participants, follow the steps in the tutorial on How to display a public entries list or ranking of participants.
2.3.2. Winner selection.
If your game is linked to sweepstakes. Once the participation period is over, you will be able to select winners.
You will be able to choose them randomly, filtering by different conditions, for example, by the points obtained in the game.
The list of participants will show the data of the participants, as well as the total points they have obtained.
To start the selection, you can follow the tutorial: How to select winners and obtain your Certificate of Validity.
3. Other specifications.
The Cool Promo and Cool Promo White Label applications, included in the Gold and Diamond plans, respectively, are the ones that allow you to set up a Spot the Differences game.
You can also create your game with the 7-day free trial, which allows you to test any of our plans.
If you have any questions during the process, don't hesitate to contact us through the chat on our website or our support email at help@cool-tabs.com.
4. Content related.
How to access the URL of your campaign to publish it.
How to create a Matching Cards game.
How to create a Spot the Differences game.
Comments
0 comments
Please sign in to leave a comment.